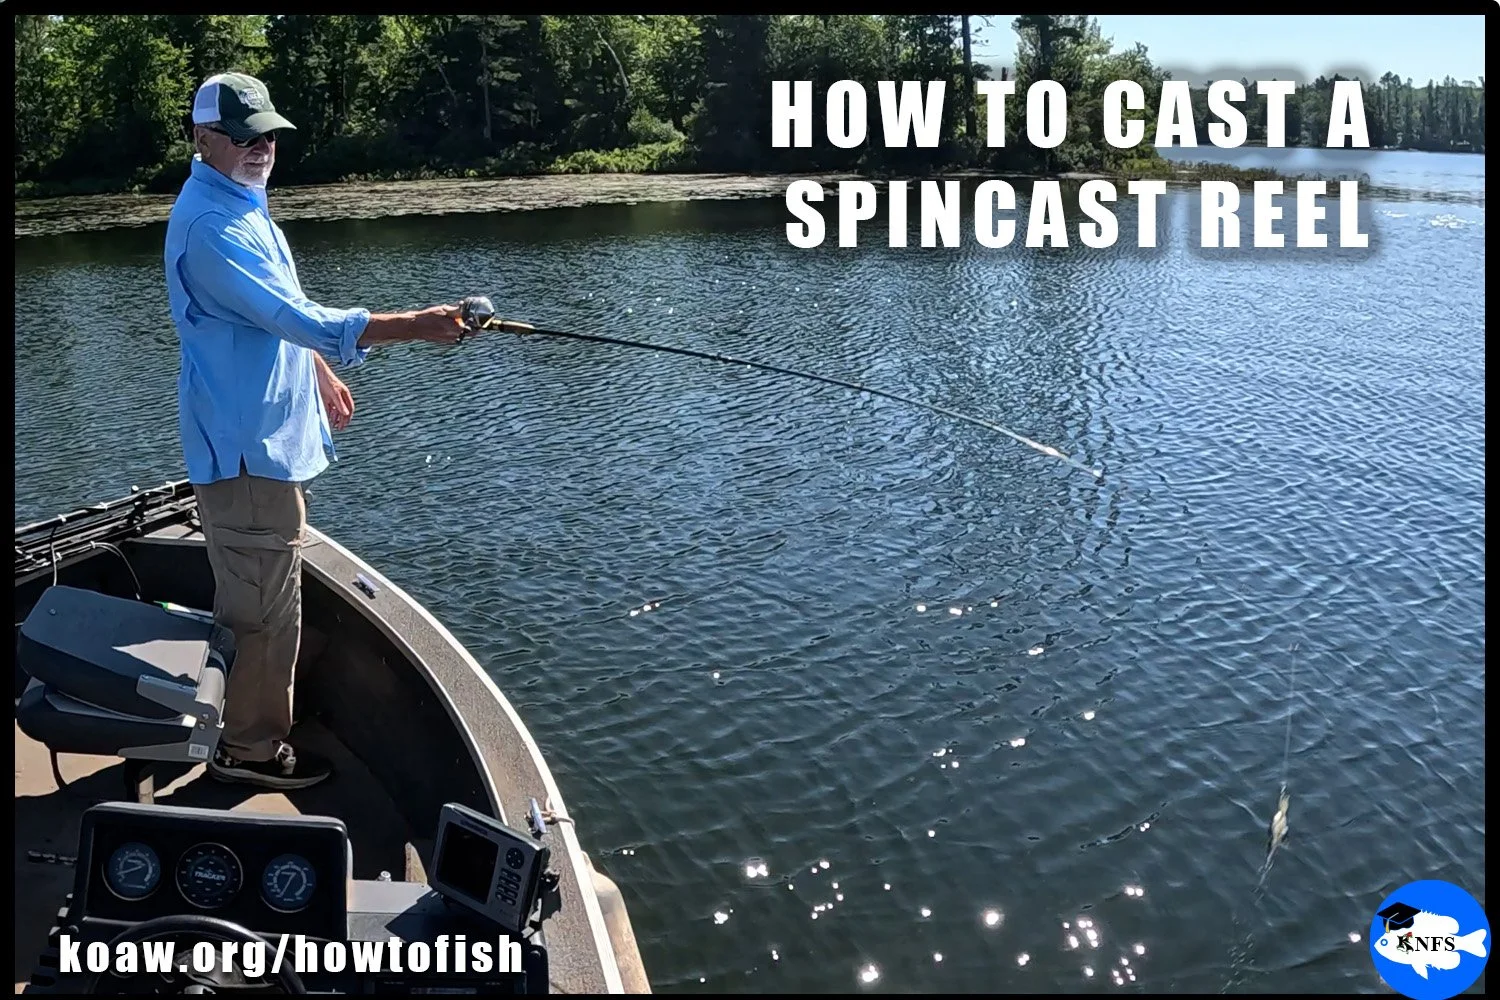
Below are QUICK STEPS and more DETAILED STEPS for casting a spincast rod and reel.
One of the simplest mechanically-assisted casting reels available to anglers.
Best to teach young children with.
We’ll be discussing these steps where the handle of the reel is cranked with the right hand and the main support of the rod/reel is held with the left hand during the retrieval. In this holding position, the reel is called a right-handed reel, of which, is the most commonly utilized on the market. (The overall guidelines work for left-handed reels with some reversals to hand and arm tasks.) A spincast reel is operated correctly when the reel is above the rod.
Disclaimer: Casting sharp hooks and swinging rods can be dangerous and should be done at your own risk. There is always potential risk of incurring harm to your body and the bodies of people near you when fishing, even if all precautions are followed.
QUICK STEPS
TO CAST WITH A SPINCAST (BUTTON-PUSH) REEL & ROD
(or more detailed steps below):
Press and hold the ‘thumb button’ with the hand holding the rod and reel.
While rotating your shoulders and rod-holding arm, move the rod behind you towards the side while still holding down on the thumb button.
Accelerate the rod from behind you towards a direction in front of you aiming the rod tip to where you want your cast to be.
Release the thumb’s pressure on the thumb button a split second before the rod tip is stopped and fully in front of you, aiming at where you want your cast to be.
Crank the handle to retrieve the line.
WHEN TEACHING YOUNG CHILDREN:
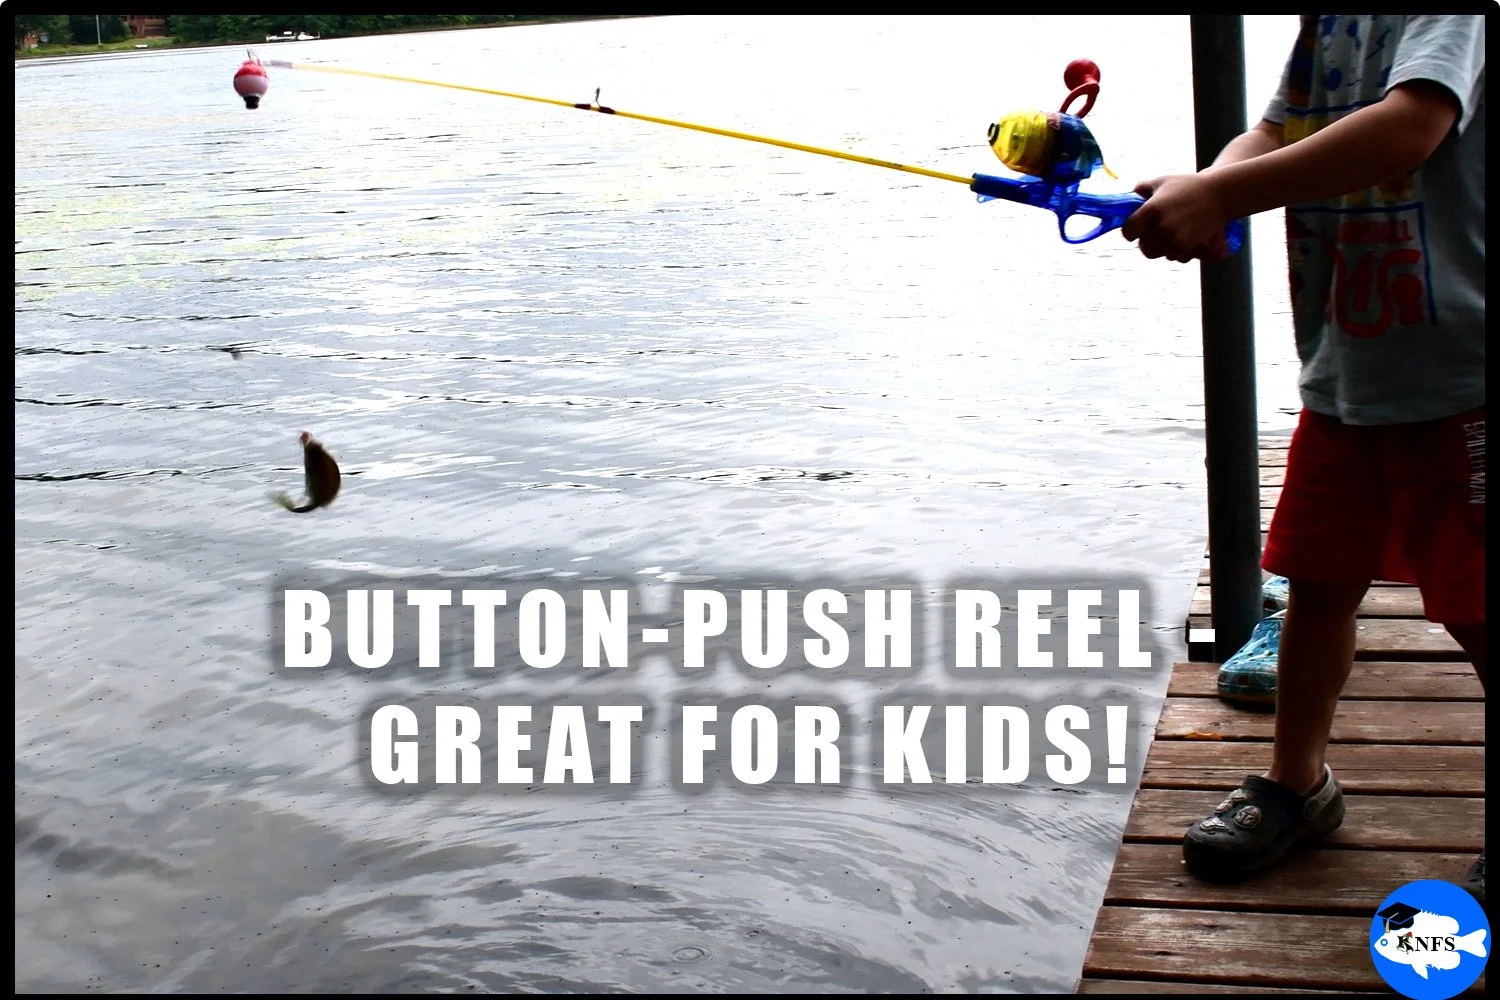
A child learning to fish for panfish on a dock while using a button-push reel. The ‘dipping the hook’ technique is useful when casting is too complex for young children.
Casting is not really a priority; focus on safety.
Prepare the rig, rod, and reel for the child.
Let the child find a comfortable grip on the rod handle.
Even if it’s not the ‘correct’ grip, allow what is most comfortable.
Let the child dip the hook of the rig into the water (if starting with a hook.)
Yes, they can catch fish this way! Especially if fishing on a dock/pier/boat that has small fish swimming around.
Let the child play with pressing the thumb button and cranking handle.
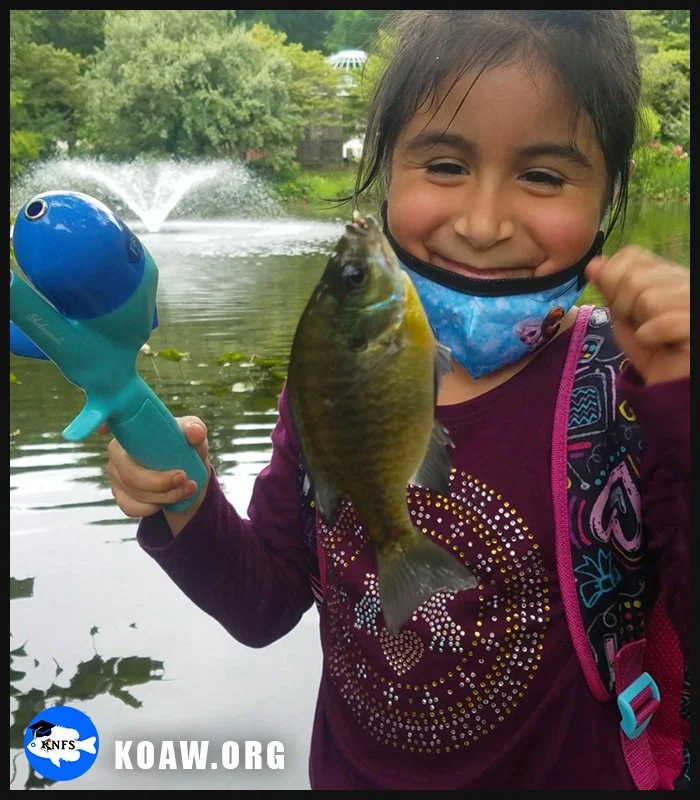
This young girl was very quick to pick up basic casting techniques to catch her own Bluegill.
If the kiddo has shown some capabilities and enthusiasm, and more importantly, a willingness to avoid hooking nearby people, then work towards some basic casting practice.
As the instructor, just make sure that you are familiar with all the steps below so that you can teach good habits to the child as they become more willing to learn.
DETAILED STEPS TO CAST SPINCAST ROD & REEL
PART 1: The Pre-Cast
Further instructions are detailed nearby for each step.
QUICK TIP: A baitcaster rod can pair with a spincast reel in the case you don’t have a spincast rod available.
Click to enlarge.
Click to enlarge.
1.1 Ensure all is where it should be:
Remove the reel cover and make sure there is no tangle of line on the spool.
If a tangle exists, remove it.
Replace cover snuggly.
Ensure that the line is threaded correctly from the reel and through the inside of all the eyelets of the rod.
Ensure that the line is not tangled or showing knots anywhere from the reel to the very tip of the rod.
Ensure that the reel is housed securely into the seat of the rod.
Often there is a twist securing mechanism for tightening.
Ensure that the rig (lure/bait/hook) is firmly attached to the fishing line and is not tangled.
1.2 Check friction settings (drag):
With the thumb button not clicked, use a hand to hold the handle of the rod and the other hand to pull on the line away from the reel with a gentle force that precedingly becomes more force.
Avoid fully wrapping the line around your hands.
Avoid pulling so hard that you could cut your hands.
The drag should be tight enough so that there is some resistance but begins releasing line well before the line would break.
If using light line, like 4 lb test, the application of force should be very minimal.
Stronger line can take more force.
If the drag feels too loose, then tighten the drag wheel (most often this is a wheel-like mechanism on spincast reels rather than a ‘knob’.) If the drag feels too tight, then loosen the drag wheel.
Consult the manual of your reel if you are unsure of the location of the drag wheel; often there will be “+” and “-” symbols near this wheel.
Play around with your drag to determine which direction tightens the drag and which direction loosens the drag.
Adjusting the main drag is sort of a guessing game for a new angler so don’t stress about it too much at this point.
Knowing how to adjust your drag during a fish fight is definitely an expert skill, and not one I’d expect a new angler to take on. However, I’m emphasizing now that building a habit of reactionarily knowing which way to turn your drag to tighten or loosen it will make you a better angler.
Adjusting the drag is needed when:
The drag is not set to a desired resistance.
A weight change has occurred to the rigging, such as changing rigs on the line.
Click to enlarge.
Click to enlarge.
1.3 Prepare the rig:
With the right hand, hold the handle of the rod.
Holding the rod involves spreading your fingers so that the rod trigger (that pointy extension on the bottom-side of the rod’s handle) is between the index finger and middle finger OR between the middle finger and ring finger.
The hand then gently squeezes the handle of the rod with the thumb ready to press the thumb button.
By rotating the handle, reel in an amount of line so that the rig on the end of the line is about 1 ft/30 cm from the tip of the rod.
If the line is already too close to the tip, simply press and release the thumb button and allow line to fall out.
This is a good time to practice pressing and releasing the button, letting the rig fall, and then reeling in by cranking the handle.
1.4 Check surroundings to find a lane:
Make sure that you will have enough clearance to cast without hitting any other item and/or person.
While holding the base of the rod, extend your arm and rod out behind you, to the side, and in front of you to ensure your surroundings and immediate casting lane is clear. If the casting area is not clear, find a place to cast from without obstacles.
Keep in mind that some of these “Pre-Cast” steps, such as checking if the line is not tangled under the reel cover and adjusting the drag, do not need to be done before each cast. For the first cast of the day, every step should be taken. When changing rigs, drag should be adjusted.
PART 2: THE CAST
We’ll discuss sideways casting with one arm, as opposed to other methods such as over-the-head, backhand casting, and flipping. Once you can master sideways casting, you’ll be ready to add more ways to cast to your repertoire.
DECIDE YOUR ARM/HAND TASKS:
Many anglers that use a right-handed spincast reel will first cast with their right arm then switch the rod to the left arm for the retrieval and crank with their right hand. Ace, in the demonstration images on this page, does just that. On the baitcaster lesson page I offer a discussion on why this is inefficient.
Nevertheless, you will need to decide if you will cast with your right arm or left arm. If you cast with your left arm, then your right hand can immediately move to the cranking handle of the reel.
2.1 Pick your spot.
With the rig dangling about 1 ft/30 cm (or even up to doubly more but not less), evaluate your casting lane in front of you.
Decide where you want your rig to end up. How far is it going? How much force will you need?
Is there wind?
Casting into the wind is more difficult.
Avoid casting into overly strong winds. Instead, cast with the wind at your back or at an angle with the wind assisting the cast.
2.2 Press and hold the thumb button.
Use your thumb of the hand holding the rod to press the thumb button.
2.3 Begin the cast.
Make sure you have stable footing/seating.
While still pressing the thumb button…
…slowly rotate your hips and shoulders towards the right so that your left shoulder is more in front of you.
Meanwhile, your rod holding arm and hand is moving behind you and extending outwards.
For more advanced casting, also extend wrist backwards for extra thrust later.
You are now ‘cocked’ and ready to launch your cast
2.4 Launch the cast.
In a quicker motion, rotate your hips and shoulders in the opposite direction from your preparation while also swinging your arm holding the rod towards your picked spot.
Your wrist will be extended backwards for an upcoming flicking motion.
As the rod tip approaches the final moments of where you will stop and point your rod tip (also your thumb) towards your picked spot…
…begin flicking your wrist towards that spot as well.
Release your thumb’s pressure from the thumb button.
Stop your body’s motion.
Your rod tip, thumb, and shoulders should all be pointing towards your picked spot.
The rig is in motion towards your picked spot.
Hold your body’s position until the rig hits the water.
The right hand needs to begin moving to the cranking handle of the reel.
Remember, if you cast with the right arm, then there will be a switch of holding the rod with the right arm to the left arm during this step.
There are a lot of complex physics involved in a cast that I’m sure most of us don’t want to get into. There are a couple basic ideas that any angler should think about in a simple manner:
ROD FLEX: During the acceleration moment of the cast, the rod will begin to flex, or bend. The rod is meant to flex in this manner as the rod, in itself, will build energy. When you stop your casting motion, the rod’s flex will release to straighten the rod. In these moments, the rod’s energy will be released, helping the rig fly towards your desired casting spot.
RIG MOMENTUM: The reason we want to leave at least 1 ft / 30 cm of line from the tip of our rod to the end of our rig is that there will be some extra boost to our casting distance. Go ahead and try casting when the position of the rig begins at the very tip of the rod—it won’t go as far relative to if there was some more line distance between the tip and rig.
PART 3: THE POST-CAST / RETRIEVAL
The hard part is over, now it’s about bringing the rig in, also called the retrieval.
SLACK: Avoid slack in the line.
Slack refers to any portion of fishing line that is not tight.
Click to enlarge.
Slack is not any angler’s friend in most situations because:
Slack lessens the reactionary time to set the hook when a fish strikes.
A fish could strike immediately (or even moments before) a rig hits the water.
3.1 Begin the rig retrieval.
The rig has just hit the water.
Begin cranking the handle to lessen slack and bring the rig in OR…
…allow your rig to fall deeper into the water.
After your rig has fallen to a desired depth in the water begin reeling line in by cranking the handle.
The good rule-of-thumb is that 1 second will have your bait fall 1 ft/30 cm, of course, that is entirely dependent on many other variables of densities, rig composition, etc..
3.2 Begin lowering the rod tip.
While cranking the handle for the first moments to begin bringing in the rig also begin lowering the rod tip.
Do this fast enough so that the slack is removed from the line as soon as possible.
An expert skill is to remove slack before the rig hits the water. (We won’t discuss that here, but it is something you may want to work towards.)
In most casting situations the angler should be retrieving with the rod tip facing towards the water so that, should a fish strike, setting the hook is an easier motion.
Exceptions exist, such as, when an angler is trying to fast-play a lure over weeds. In this situation, the rod tip should be held high while cranking the handle rapidly to help keep the rig near the surface.
3.3 Set the hook (if a fish strikes the rig.)
A fish strike, in most situations, feels like something quickly tugging back at the end of the line.
Most casting lures (because of the hook design) require that the angler sets the hook so that the point of the hook pierces the cartilaginous portion of the fish’s mouth.
Some hooks, like many circle hooks, only require a gentle pressure for a proper hook set.
To set the hook quickly lift the tip of the rod in an upwards, opposite direction from where the line is entering the water.
Make sure the slack is out of the line before setting the hook.
Setting a hook too softly can mean the hook won’t set.
Setting a hook too hard can ripthe hook out of a fish’s mouth.
As a new angler, understanding hook-setting power is something you will have to gain a feel for over time with experience.
Even if you don’t get a fish strike, practice setting the hook during your retrievals.
After a hook-setting motion begin cranking the handle while also bringing the rod tip down so as to keep slack out of the line and reset the rod to the downwards facing position.
3.4 The final moments.
Should you have a fish on the end of your line then bring it in!
Yes, that is easier said than done with some species. I will have an entire page dedicated to ‘playing/fighting fish’ within the guide.
Your main goal when retrieving the fish is no slack in the line—even when the fish is on the line.
Simply crank the handle to bring the fish in. Should the fish be fighting heavily, the drag mechanism should begin making noise to let you know that line is being pulled out. That’s okay—this is why your drag is set loose enough so that the line won’t break. (Some reels have adjustable settings that make for very loud clicking noises when the drag is being pulled out.)
Should you not have a fish, simply reel in the rig in while keeping your rod tip pointed at the water.
For most rigs, reel in so that there is still about 3 ft / 1 m of line in the water and keep the rig in the water.
Some fish will follow the bait in, so make sure you are wearing your polarized sunglasses to see if your rig is being followed. If it is, keep the rig in the water and try to entice that fish to strike.
If you are confident there is no fish, lift your rig from the water and reel in the rig so that 1 ft / 30 cm (or more) of line remains.
You’re now ready to begin the next cast. Readjust the drag if needed. Check for tangles.